
Fast Flexible and Affordable
Discover Our Playground Equipment Solutions Today!

 Feb 10,2025
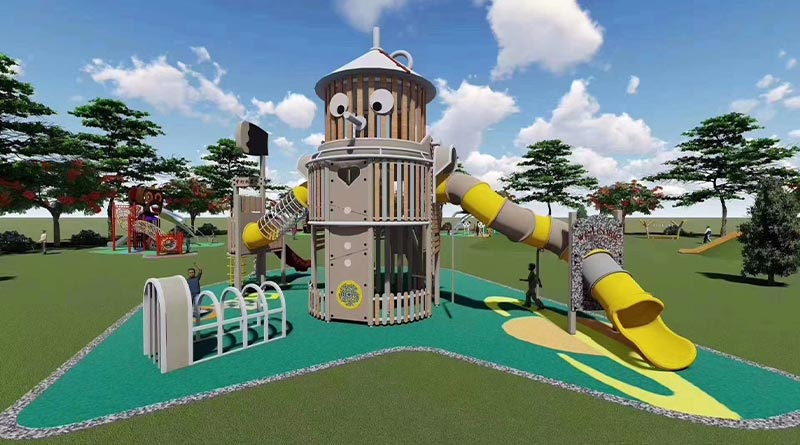
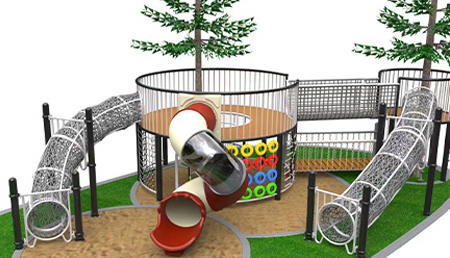
Installing outdoor playground equipment is a task that requires careful planning and execution to ensure the safety and functionality of the final setup. Whether it's for a park, school, or community center, following a proper installation process is crucial.
1. Pre - installation Preparation
Site Selection and Assessment
Location Suitability: First, choose a suitable location. The area should be flat, well - drained, and free from obstacles. Avoid areas with underground utilities such as water pipes or electrical cables. For example, installing near a sewer line could pose a risk during the digging process for the equipment's foundation.
Space Consideration: Measure the available space accurately. Ensure that there is enough room not only for the equipment itself but also for a safety zone around it. The safety zone should be clear of any hard surfaces or objects that could cause injury in case of a fall.
Equipment Inspection
Parts Verification: When the equipment arrives, carefully check all the parts against the packing list. Look for any signs of damage during transportation, such as dents, scratches, or missing components. If there are any issues, contact the supplier immediately to resolve them before starting the installation.
Gathering Tools and Materials
Essential Tools: Prepare the necessary tools, which may include wrenches, screwdrivers, hammers, levels, and measuring tapes. For more complex installations, you may also need heavy - duty lifting equipment like cranes or forklifts.
Materials Procurement: Gather materials such as concrete, bolts, nuts, and washers. The type and quantity of these materials depend on the specific requirements of the equipment and its foundation.
2. Foundation Construction
Excavation
Depth and Size: Dig the holes for the equipment's foundation according to the manufacturer's specifications. The depth and size of the holes are crucial for the stability of the equipment. For a large climbing structure, the foundation holes may need to be several feet deep and wide to support the weight and prevent tipping.
Leveling the Bottom: Use a level to ensure that the bottom of the holes is flat. Uneven bottoms can lead to an unstable foundation and potential safety hazards.
Concrete Pouring
Mixing and Pouring: Prepare the concrete according to the manufacturer's instructions. Pour the concrete into the holes slowly, making sure to fill them completely. Use a rod or a vibrating tool to remove any air bubbles and ensure a solid foundation.
Setting and Curing: Allow the concrete to set and cure for the recommended period. This usually takes several days, depending on the type of concrete and weather conditions. During this time, keep the area around the foundation clear and prevent any disturbances.
3. Equipment Assembly
Component Identification
Reading the Manual: Thoroughly read the equipment's assembly manual. Identify each component and understand how they fit together. The manual will provide step - by - step instructions and diagrams to guide the assembly process.
Labeling Components: If the components are not already labeled, consider labeling them yourself to make the assembly process more efficient. This can save time and reduce the chances of making mistakes.
Assembly Sequence
Starting from the Base: Begin the assembly by constructing the base of the equipment. Secure the base firmly to the foundation using the provided bolts and nuts. Make sure all connections are tight and level.
Adding Upper Structures: Gradually add the upper structures, following the assembly sequence in the manual. Use appropriate tools to tighten all bolts and screws to the recommended torque. For example, when assembling a slide, first attach the support brackets to the base and then carefully position the slide sections and secure them in place.
4. Safety and Functionality Checks
Structural Integrity Check
Visual Inspection: Once the equipment is assembled, conduct a visual inspection to check for any loose parts, misaligned components, or signs of instability. Shake the equipment gently to test its stability. If there are any wobbles or unusual noises, identify and fix the issues immediately.
Load Testing (if applicable): For equipment that is designed to bear weight, such as swings or climbing frames, perform a load - testing according to the manufacturer's guidelines. This helps to ensure that the equipment can safely support the intended users.
Functionality Testing
Testing Moving Parts: Test all moving parts, such as swings, seesaws, and gates. Make sure they move smoothly and freely without any jamming or excessive friction. Lubricate the moving parts if necessary.
Safety Feature Verification: Check all safety features, such as handrails, safety barriers, and soft - landing surfaces. Ensure that they are in place, properly installed, and functioning as intended.
By following these steps carefully, you can ensure a successful installation of outdoor playground equipment that provides a safe and enjoyable play environment for everyone.
GET A QUOTE

Tel: +86-577-6696 5897
WeChat: +86-15967755342
E-mail: baiqiali@baiqitoy.com
Whatsapp: +86-15967755342
Copyright © 2024 Wenzhou Baiqi Playground Equipment Co., Ltd All rights reserved.